Why have the program in USA? Surely it should stay in this "Old" @NaturalEngland and save energy!! I wonder what is the carbon footprint for making an uninteresting (to UK nature watchers) program thousands km away? Is it just a "jolly" for the presenters and the producers? After watching every single Spring/Autumnwatch over the years, we will not be watching - ever - again! Very disappointed as a big fan of Chris, Michaela (and Martin!) and Gillian 😟!
Autumnwatch from New England in the USA?!
Why have the program in USA? Surely it should stay in this "Old" @NaturalEngland and save energy!! I wonder what is the carbon footprint for making an uninteresting (to UK nature watchers) program thousands km away? Is it just a "jolly" for the presenters and the producers? After watching every single Spring/Autumnwatch over the years, we will not be watching - ever - again! Very disappointed as a big fan of Chris, Michaela (and Martin!) and Gillian 😟!
0 Comments
theleap.org/portfolio-items/naomi-nyc/?link_id=1&can_id=b17d53db47b56d0b0c2656690fb78cc7&source=email-leaping-to-new-heights-in-2018&email_referrer=email_287538&email_subject=leaping-to-new-heights-in-2018
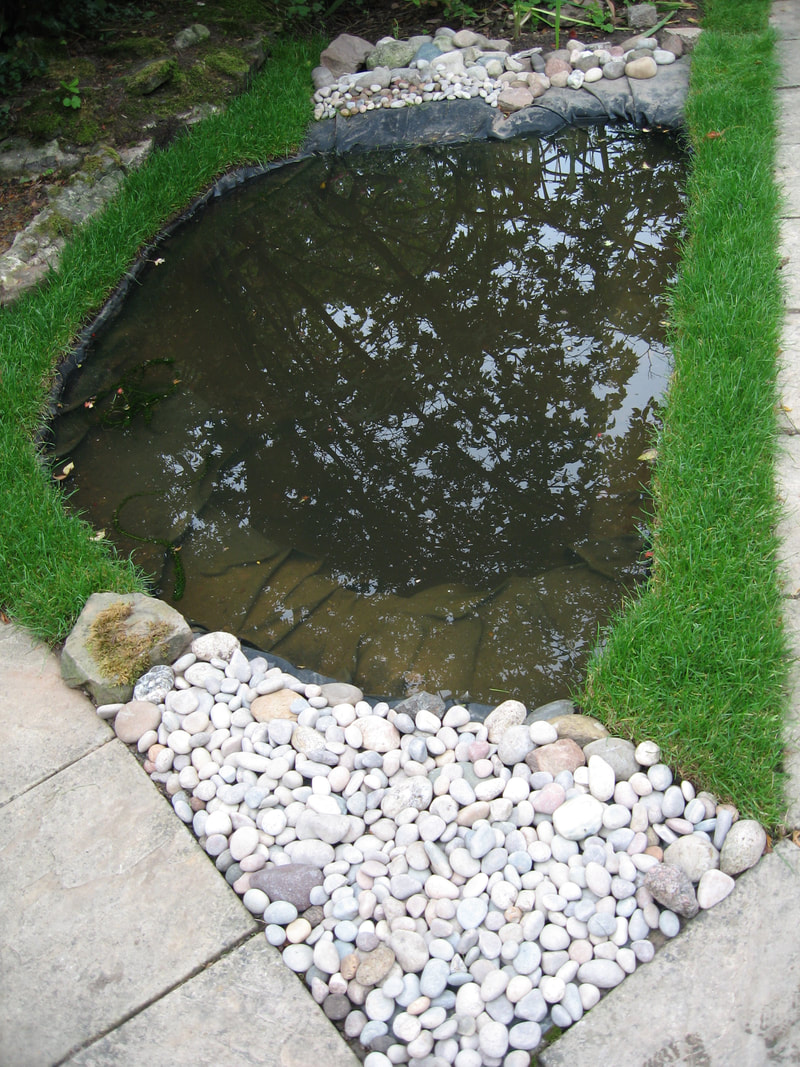
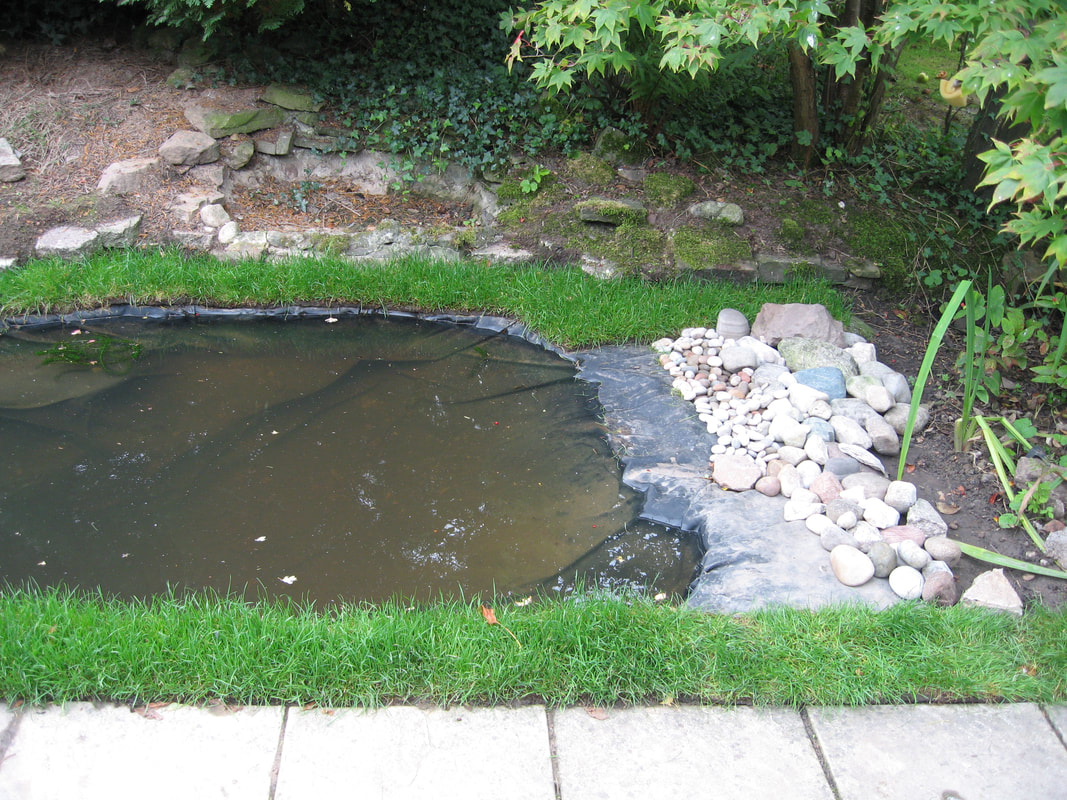
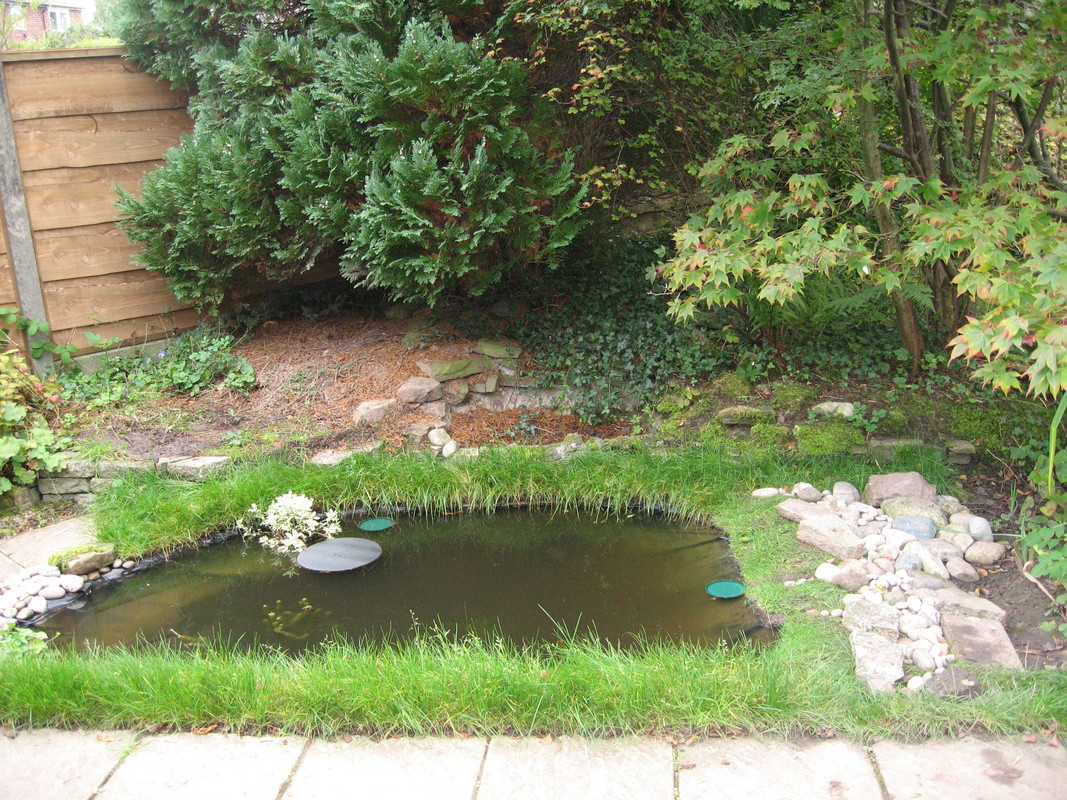
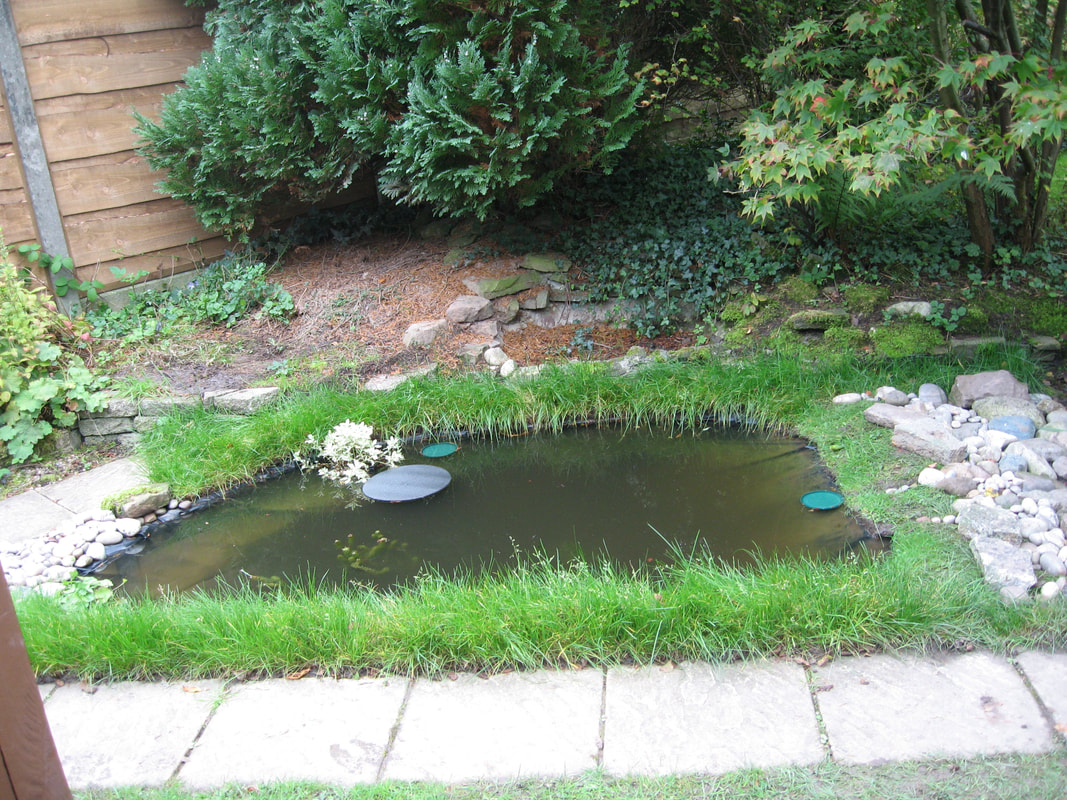
LEAP LINK When I read this article on The Leap site I could not believe my eyes. It appears to mean that the people in the World who bear the "heaviest burden" from climate change (caused by those who have been producing the most pollution, ie manufacturers of oil and coal products, large steel, cement companies etc etc ) may have some benefit, financial compensation and so on through court action. Anyway you have to read the article yourself; the link is above. 6. Naturalising the edges of the Pond: The edges of the pond on two sides had to be quite narrow due to an existing path and a previous small pool which we wanted to keep as a bird bath later; so using grass turves made it more firm as the roots were already well grown to hold the soil etc together. They are quite easy to cut to shape with an old bread knife and after a week or so leaving the grass to grow it began to appear “natural”. Pebbles and cobbles were added on one of the corners and along one side, next to the future bog-garden, to give a small sort of beach appearance. Under the grass and pebbles a small ‘valley’ was cut to let any water over-spill run into the bog-garden, keeping it soggy and wet. Just before this was done we were pleased to see one of the frogs from elsewhere in the garden swimming in the new pond, diving to the bottom of the abyss – result! 7. The pyramid net:
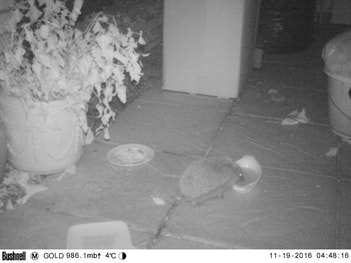
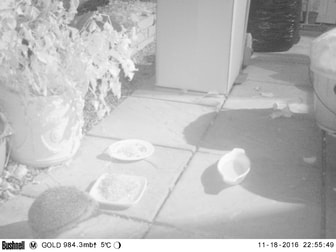
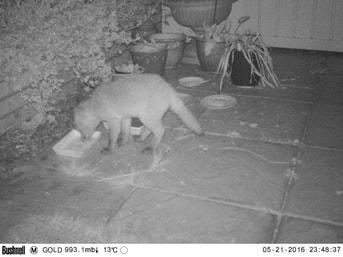
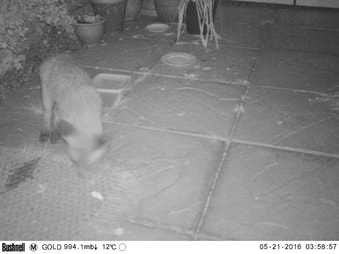
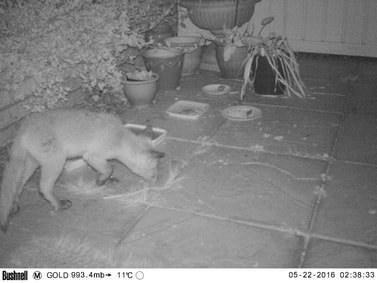
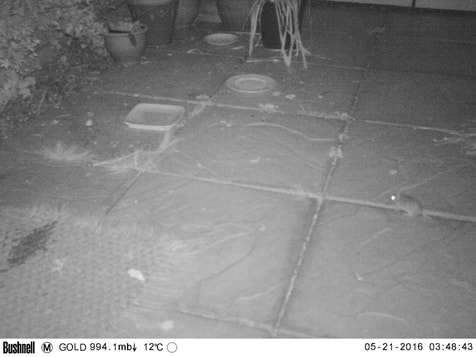
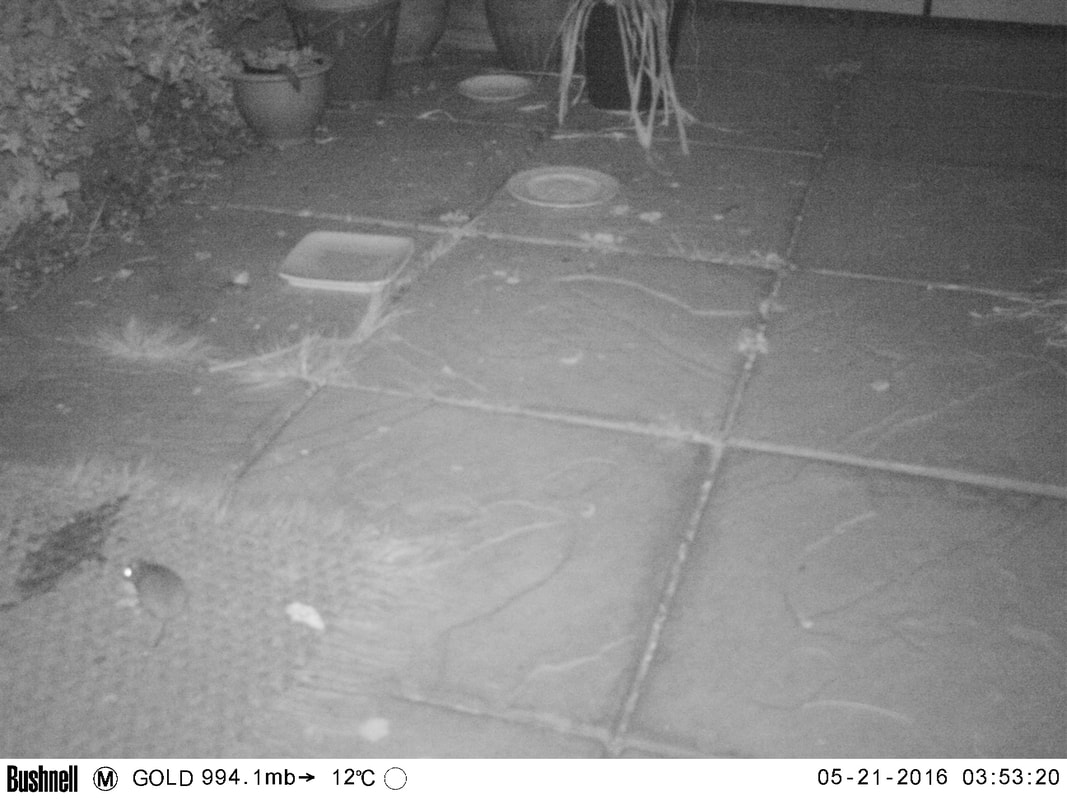
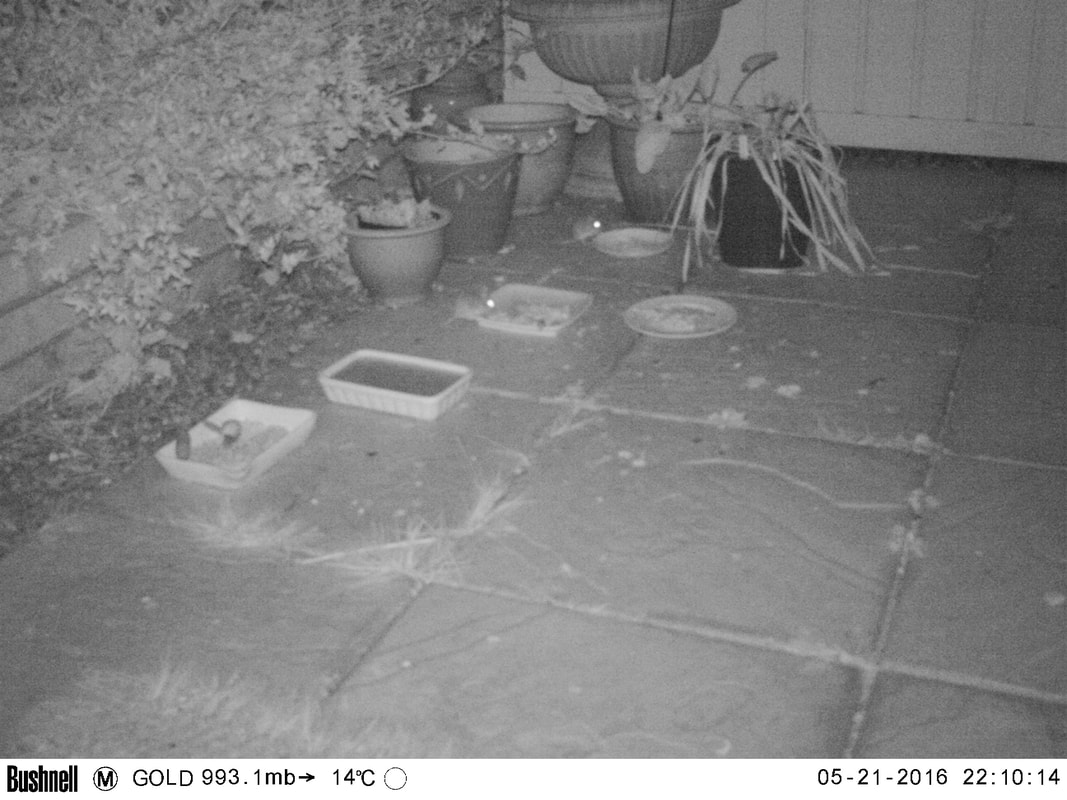
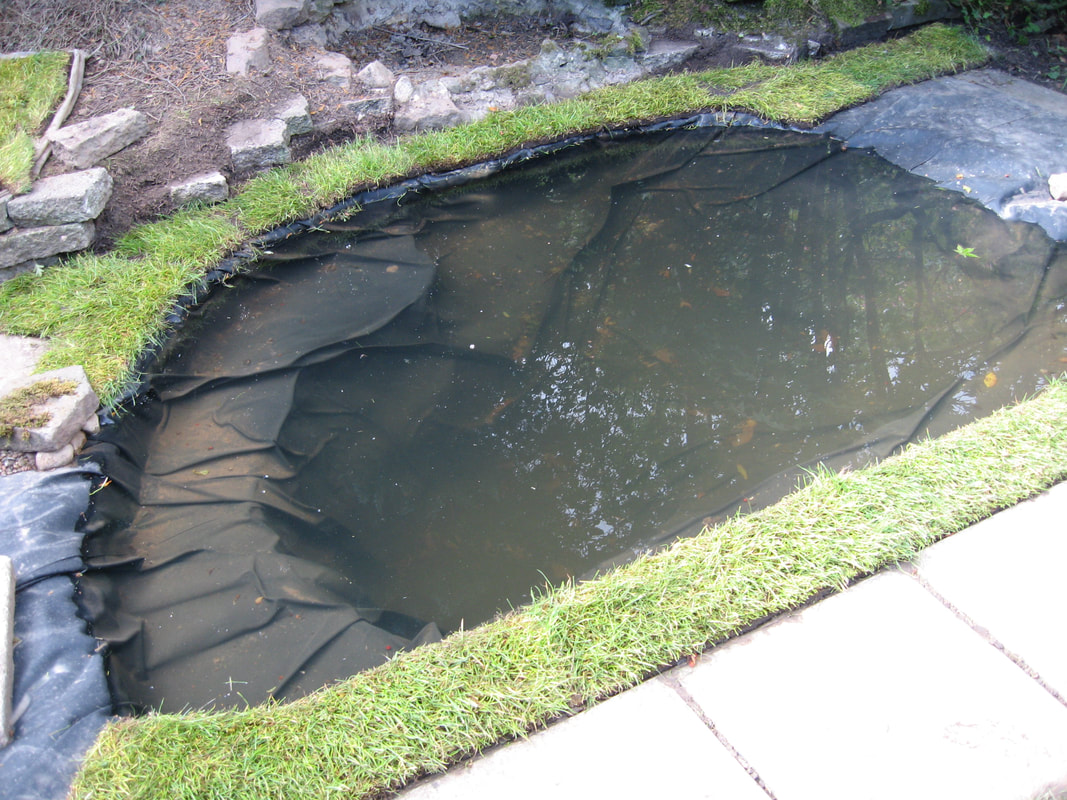
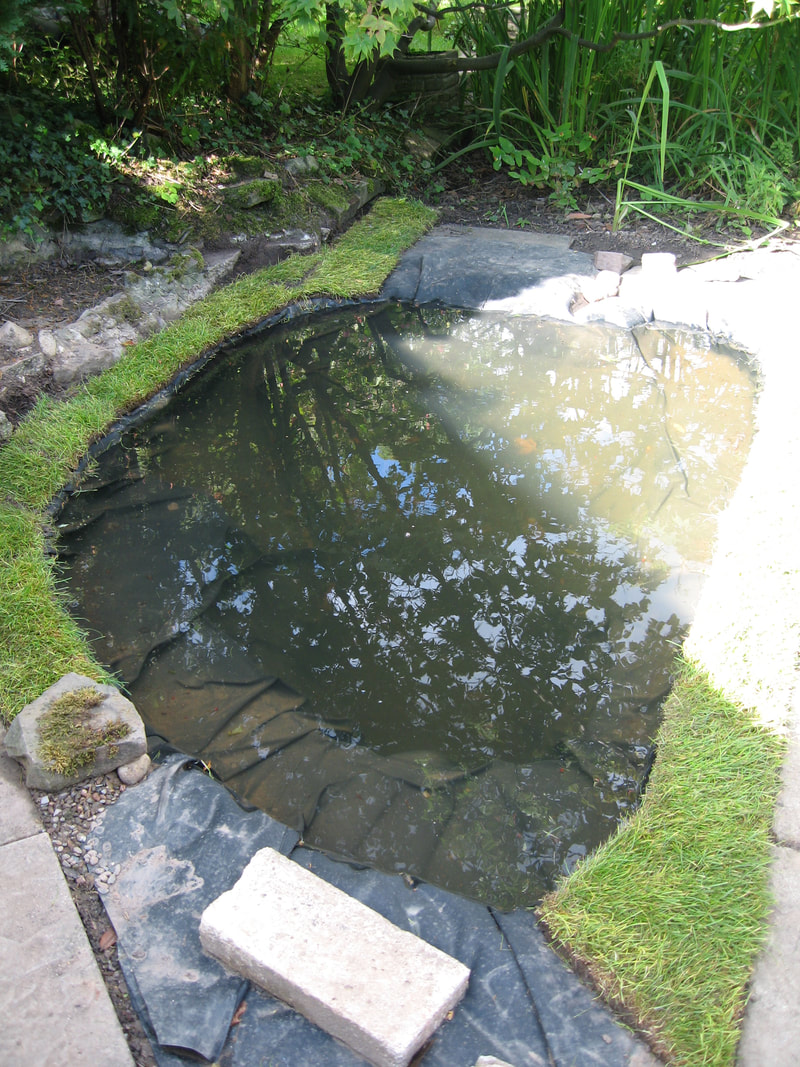
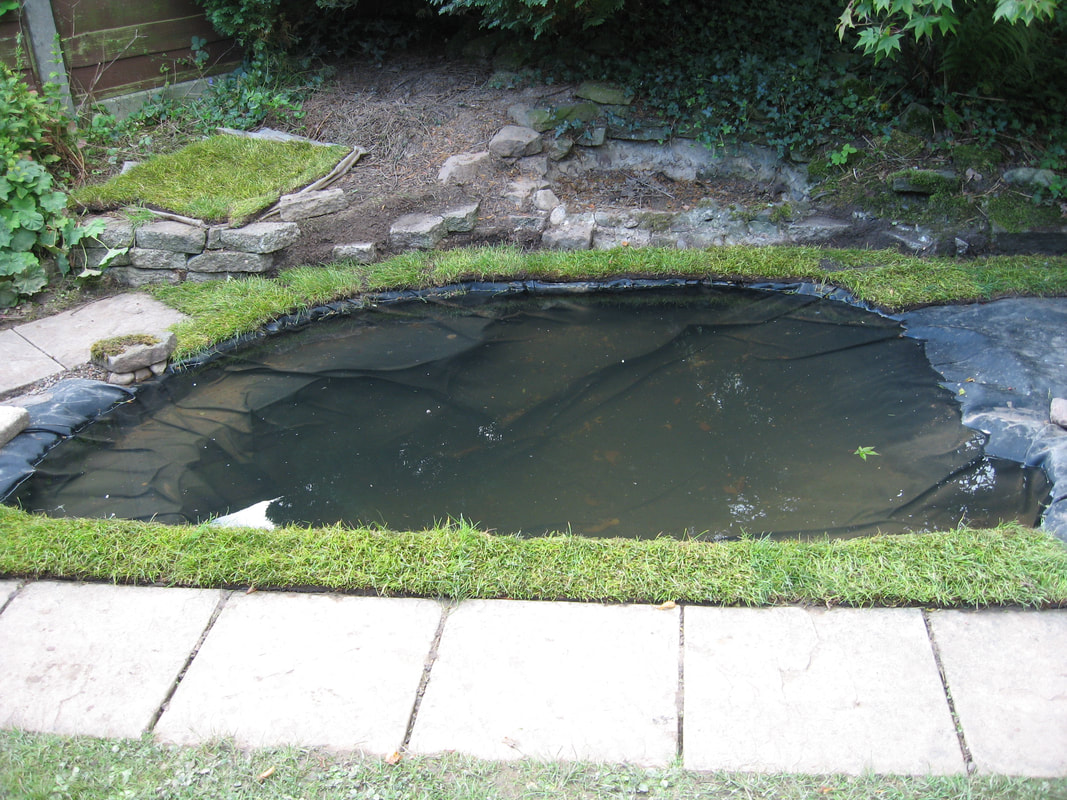
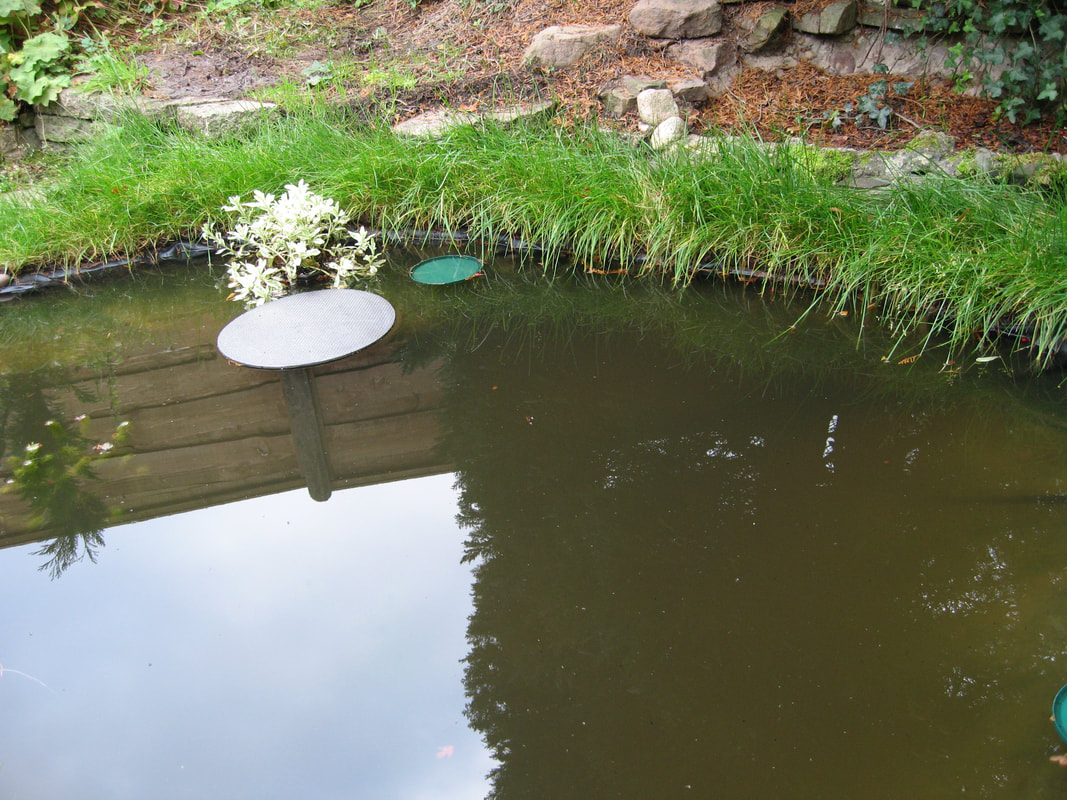
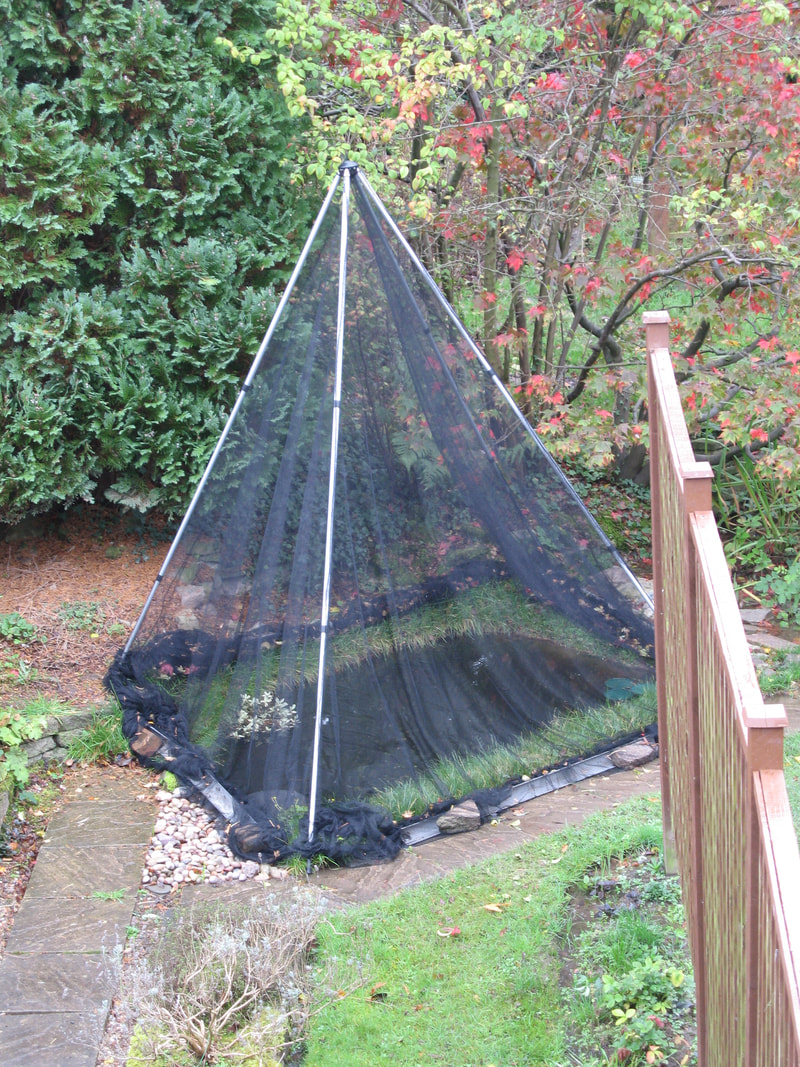
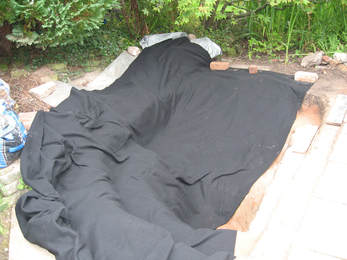
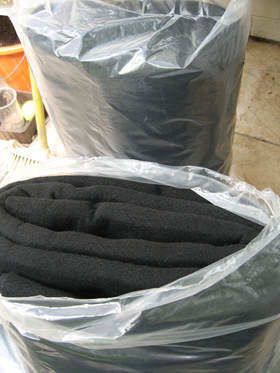
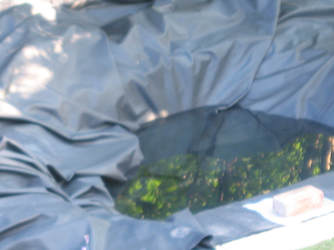
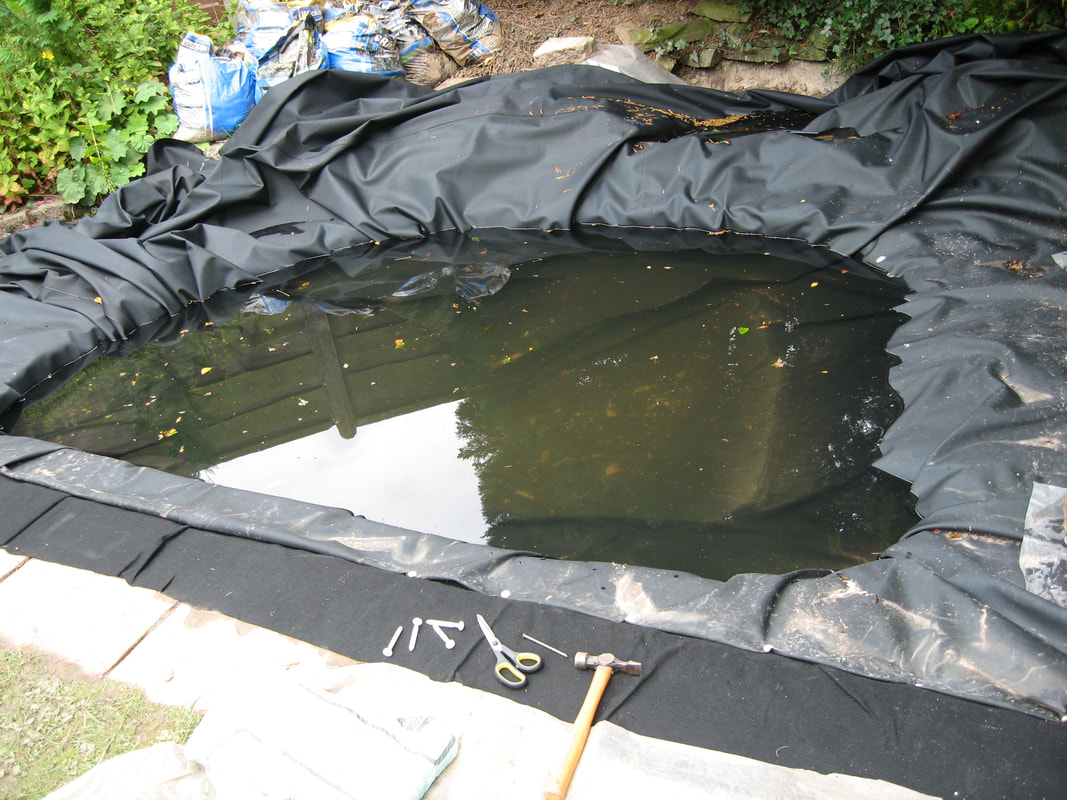
We bought a net, which is adjustable to different sizes of pond, to cover it during autumn and winter when leaves are falling from nearby trees and shrubs etc. Having had a small pond in the past we knew that clearing them from the surface water can be a real bind and if you leave them to sink to the bottom then they can foul the water as they rot. A few leaves are probably not so bad as it’s going to provide detritus feeders at the bottom of the pond some nutrition (naturally!). I cut a couple of 15 cm lengths of plastic guttering to place as little tunnels under the bottom sides of the netting, allowing frogs to enter and leave the pond. We had noticed a fox and various birds coming to the pond for a drink so we made sure to leave a dish of water for them while the net was up. For more ideas about gardening with wildlife in mind - plus a great story to go with it - click this link to: SO WHAT'S NEXT! 5. The Pond Liner: Under the pond liner you can use building sand (not sharp sand!) and / or some kind of material liner. I have even seen some recommend old carpet or carpet underlay but the point is you need something that will cushion and protect the liner from sharp bits of root or stones that lie under the surface around the hole. It’s amazing how many hidden bits of sharp ‘stuff’ you can find and remove and then still find more waiting there to puncture small holes in the liner if you’re not careful. So it’s best not to take the chance and add an underlay of some sort. We used a commercially made fleece liner. When you place it in the hole you will find that in ‘corners’ and around curves it can be a bit awkward because you have to try and fold it and pleat it to fit into the shape of the pond. This is the same problem when you add your pond liner on top of the underlay and it can be very fiddly. Once the water is in it, however, the various folds etc tend to become less visible as folds. They start to look like the ‘muddy’ bottom and sides of the pond. There are lots of liner materials but we went with the recommendation of most books and articles and chose butyl rubber. It was thick and pretty heavy to man-handle into the final shape etc but with another pair of helping hands it got done! The overlap of the butyl liner around the edges of the pond must be at least 15cm (6in.) but I cut it to allow 30cm overlap. Of course you do not trim it to size at all until there is water in the pond up to approximately 25 to 50mm from the final level. This is to allow the liner to settle smoothly into its shape and depth so add water in stages and watch the liner does not suddenly slip into the hole. You can place bricks at strategic places around the hole to weigh the liner down while filling with water. We have a rainwater butt and used a lot of that but over half of the pond was filled from a hosepipe. This means leaving the water to settle for a day or so to let any chemicals from tap water evaporate from the pond as they could affect plants or creatures you wish to have in it. Notice that after I was sure the water had settled to almost its final depth I folded the butyl overlap under so that it was only 15cm wide and therefore double thickness. This allowed me to pin it to the ground with 4inch plastic ‘nails’ about 30cm apart to keep the liner still. I made the holes through it with a 4inch steel nail and hammer. Over the edges I planned to put grass turves and cobbles and pebbles in various places. To be continued… 4. The Soakaway:
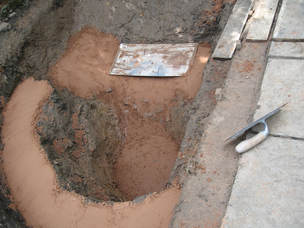
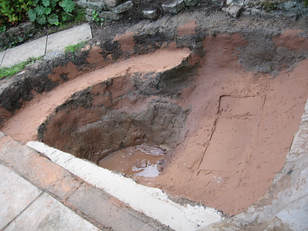
Before adding the liner and its underlay I decided to dig a soakaway next to one side of the pond. This was because I had read about ponds overflowing during heavy downpours and storms, then flooding the nearby garden beds or paths. Plus it could mean some of your ‘wildlife’ becoming stranded out in the air eventually, unknown to you, and therefore dying. Although we are not intending to add fish they would or could be lost of course, but we would not like tadpoles and larvae of various invertebrates (dragonflies, mayflies etc) to be washed away into the soil and so on. It was about two patio paving slabs long and one wide with plenty of broken up rubble/bricks dropped into its 40 to 45cm (16 to 18in.) depth. There had to be a narrow-ish channel from the adjacent side of the pond to lead to it with pea-grit or gravel in it for any overflow to run to the soakaway. This channel was only about 25mm (1in.) deep. On the opposite side of the pond I made a similar channel for water to overflow into a section of the garden nearby to become boggy as a future bog-garden. I left the butyl liner uncut there and sloped it down slightly so that the soil on top of it remained soggy for the plants. To be continued… 3. The Clay: When you start to dig deeper and deeper then you will discover just how useful it is to be wearing a strong pair of welly boots if you reach a clay layer. This is because if it rains then the hole will start to fill with water from above and /or it will start to seep from below. I found paddling around in soggy clay turned it into sticky “glue” after a few minutes and I could hardly lift my feet or get out of the hole! The bags of clay were so heavy I used a wheel barrow to move them ready for transporting to the local council tip. You may need to bale out the water if it gets too deep of course. As I went deeper and deeper I kept checking with a long straight batten and spirit level that the wooden (final water level) pegs had not been displaced. At the same time I made sure that I included a “shelf” of clay/soil in different areas where we would place various water plants later. This could range from 15 to 25 cm down according to your choice of plants. There was a gentle slope opposite the abyss hole to allow some creatures, like frogs and newts, to crawl out if needed. To be continued... ![]() 2. The Digging: Most of the topsoil was decent enough to save on one side for use later but once I was down a foot (30cm) or more it became much heavier as it was mixed with clay. Surprise, surprise there was also quite a lot of rubble (old broken bricks and paving slabs) which became quite a big pile. Some of this became useful later for the creation of a soakaway next to the pond – more details later. When I revealed some kind of an obelisk that was almost immoveable that was a shock. It turned out to be what I think was a kerbstone! How that came to buried deep in a garden is a bit of a mystery? Help was needed to get the kerbstone out of the deepening pit. It’s important obviously not to try to do too much and injure your back, though most of the muscles you rarely use are going to ache for a time. I also started on the very deep spot, renamed the abyss, and found the clay to be much more solid than ever. I considered taking up pottery but then decided I hadn’t enough time (joke!). At this point I had to resort to using a pick axe as well as the spade and garden fork – mainly to penetrate the clay enough to remove larger lumps of it. We wound up with about 25 bags of clay to dispose of later. To be continued... Making a Wildlife Pond 1. Choosing the site: We had a boggy part of the garden that kept becoming full of yellow flag iris and various grasses, including one we mistakenly called “cotton grass” and I was attempting to dig them all out so that we could start again. There was no particular plan and it was hard work because the rhizomes of the flags were so tough and woody, while the spiky stems of the grass plant were leathery and grew in enormous solid clumps with deep roots. But once we had decided that this would be good place for a wildlife pond then the hard work of clearing the site began to feel well worthwhile. The pictures show the pond roughly outlined with white cable and some wooden pegs defining the proposed finished water level. It was going to be approximately 2.7m long by 1.8m wide (9ft X 6ft) and 0.75m (30inch) at its deepest point. We had read lots of books and leaflets etc about ponds some time before starting and knew that it was good to have a very deep spot where amphibians could survive cold winters when the water might be frozen as ice at the surface. Although there are a couple of small trees nearby nothing would overhang the water very much and there was plenty of open space above it for the sun to warm the water enough for certain water plants to grow. To be continued... Here are a few of Bill Richmond's fantastic photographs. The sort of pictures you wish you could have taken of birds etc while out in the countryside. Here is a link to his Flickr site: Fantastic Bill Richmond Aren't they FABULOUS! Good grief, Charlie Brown - A wryneck and a water rail for heaven's sake! Difficult to see or hear, never mind photograph with such brilliant quality. I am full of respect and admiration for this photographer! GJG
|
Archives
October 2018
Categories
All
|